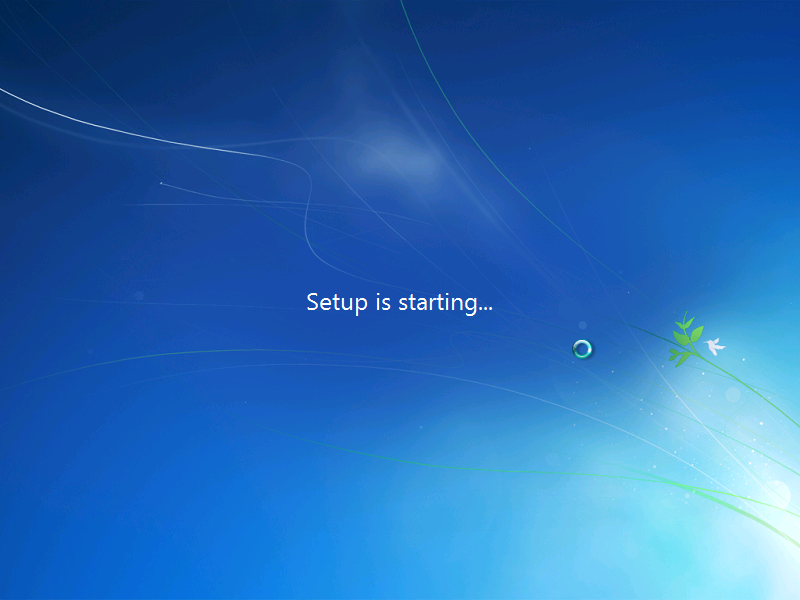
Deploying Windows 7 in an enterprise requires more then just installing the systems from a dvd media. With Windows 7 you can use an answer file to configure Windows settings during installation process. The XML answer file will contain all of the settings that are required for an unattended installation. The ultimate goal during the installation is that we are not be prompted with user interface interaction.
What is a unattended answer file?
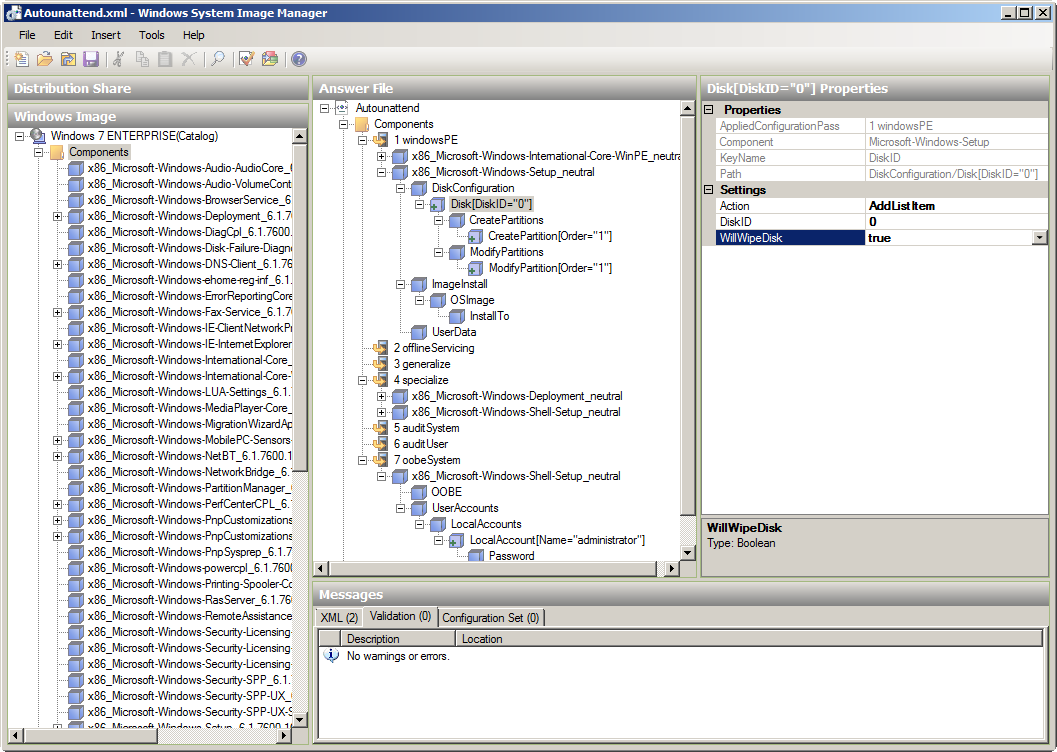
I am creating an answer file using Windows System Image Manager (SIM), a utility for creating and modifying unattended answer files. Below I am sharing a sample Autounattend.xml answer file that includes basic Windows Setup configuration and minimum Windows Welcome customizations.
The Autounattend.xml is generated using different component settings areas. Component setting are the configurable aspects of each component in a Windows 7 installation for unattended setup. The following components I am using for the sample file:
Windows PE: Component – Microsoft-Windows-Setup
Windows PE: Component – Microsoft-Windows-International-Core-WinPE
Specialize: Component – Microsoft-Windows-Shell-Setup
Specialize: Component – Microsoft-Windows-Deployment
oobeSystem: Component – Microsoft-Windows-Shell-Setup
Autounattend.xml
<?xml version="1.0" encoding="utf-8"?>
<unattend xmlns="urn:schemas-microsoft-com:unattend">
    <settings pass="windowsPE">
        <component name="Microsoft-Windows-Setup" processorArchitecture="x86" publicKeyToken="31bf3856ad364e35" language="neutral" versionScope="nonSxS" xmlns:wcm="http://schemas.microsoft.com/WMIConfig/2002/State" xmlns:xsi="http://www.w3.org/2001/XMLSchema-instance">
            <DiskConfiguration>
                <Disk wcm:action="add">
                    <CreatePartitions>
                        <CreatePartition wcm:action="add">
                            <Order>1</Order>
                            <Extend>true</Extend>
                            <Type>Primary</Type>
                        </CreatePartition>
                    </CreatePartitions>
                    <ModifyPartitions>
                        <ModifyPartition wcm:action="add">
                            <Active>true</Active>
                            <Format>NTFS</Format>
                            <Label>LocalWin7HDD</Label>
                            <Letter>C</Letter>
                            <Order>1</Order>
                            <PartitionID>1</PartitionID>
                        </ModifyPartition>
                    </ModifyPartitions>
                    <DiskID>0</DiskID>
                    <WillWipeDisk>true</WillWipeDisk>
                </Disk>
                <WillShowUI>OnError</WillShowUI>
            </DiskConfiguration>
            <ImageInstall>
                <OSImage>
                    <InstallTo>
                        <DiskID>0</DiskID>
                        <PartitionID>1</PartitionID>
                    </InstallTo>
                    <WillShowUI>OnError</WillShowUI>
                </OSImage>
            </ImageInstall>
            <UserData>
                <AcceptEula>true</AcceptEula>
                <Organization>Networknet</Organization>
                <FullName>Networknet</FullName>
            </UserData>
        </component>
        <component name="Microsoft-Windows-International-Core-WinPE" processorArchitecture="x86" publicKeyToken="31bf3856ad364e35" language="neutral" versionScope="nonSxS" xmlns:wcm="http://schemas.microsoft.com/WMIConfig/2002/State" xmlns:xsi="http://www.w3.org/2001/XMLSchema-instance">
            <SetupUILanguage>
            <UILanguage>en-US </UILanguage>
            </SetupUILanguage>
            <InputLocale>en-US </InputLocale>
            <SystemLocale>en-US </SystemLocale>
            <UILanguage>en-US </UILanguage>
            <UILanguageFallback>en-US </UILanguageFallback>
            <UserLocale>en-US </UserLocale>
        </component>
    </settings>
    <settings pass="specialize">
        <component name="Microsoft-Windows-Shell-Setup" processorArchitecture="x86" publicKeyToken="31bf3856ad364e35" language="neutral" versionScope="nonSxS" xmlns:wcm="http://schemas.microsoft.com/WMIConfig/2002/State" xmlns:xsi="http://www.w3.org/2001/XMLSchema-instance">
            <TimeZone>W. Europe Standard Time</TimeZone>
            <ComputerName></ComputerName>
        </component>
        <component name="Microsoft-Windows-Deployment" processorArchitecture="x86" publicKeyToken="31bf3856ad364e35" language="neutral" versionScope="nonSxS" xmlns:wcm="http://schemas.microsoft.com/WMIConfig/2002/State" xmlns:xsi="http://www.w3.org/2001/XMLSchema-instance">
            <RunSynchronous>
                <RunSynchronousCommand wcm:action="add">
                    <Description>Enable Administrator account</Description>
                    <Path>net user administrator /active:yes</Path>
                    <Order>1</Order>
                </RunSynchronousCommand>
            </RunSynchronous>
        </component>
    </settings>
    <settings pass="oobeSystem">
        <component name="Microsoft-Windows-Shell-Setup" processorArchitecture="x86" publicKeyToken="31bf3856ad364e35" language="neutral" versionScope="nonSxS" xmlns:wcm="http://schemas.microsoft.com/WMIConfig/2002/State" xmlns:xsi="http://www.w3.org/2001/XMLSchema-instance">
            <OOBE>
                <ProtectYourPC>1</ProtectYourPC>
                <NetworkLocation>Work</NetworkLocation>
                <HideEULAPage>true</HideEULAPage>
                <HideWirelessSetupInOOBE>true</HideWirelessSetupInOOBE>
            </OOBE>
            <UserAccounts>
                <LocalAccounts>
                    <LocalAccount wcm:action="add">
                        <Password>
                            <Value>cABhAHMAcwB3AG8AcgBkADIAMAAxADEAUABhAHMAcwB3AG8AcgBkAA==</Value>
                            <PlainText>false</PlainText>
                        </Password>
                        <Name>administrator</Name>
                        <Group>administrators</Group>
                        <DisplayName>administrator</DisplayName>
                        <Description>Default Administrator Account</Description>
                    </LocalAccount>
                </LocalAccounts>
            </UserAccounts>
        </component>
    </settings>
    <cpi:offlineImage cpi:source="catalog:c:/vm-backup/win7-enterprise/sources/install_windows 7 enterprise.clg" xmlns:cpi="urn:schemas-microsoft-com:cpi" />
</unattend>
Create the Autounattend.xml answer file
- Open Notepad
- Copy the Autounattend.xml example and paste that into Notepad
- Save the file as Autounattend.xml
- If you are using a virtualization solution like VMWare ESX, Microsoft Hyper-V or Oracle VirtualBOX then create a virtual floppy disk and copy the file. If you are installing on a physical system then copy the file to the root of a USB flash drive or burn a cd/dvd disk
You can use my sample file as a start but I recommend to open the file with Windows System Image Manager and edit the new created file. Changing password is one of those things to do and be aware of the DiskWipe is set to true. Windows System Image Manager is part of the Windows AIK deployment tools.
Autounattend.xml media with the sample file
The following links contain virtual floppy drives with the example sample file. You can download the file and directly mount it to our virtualization solution.
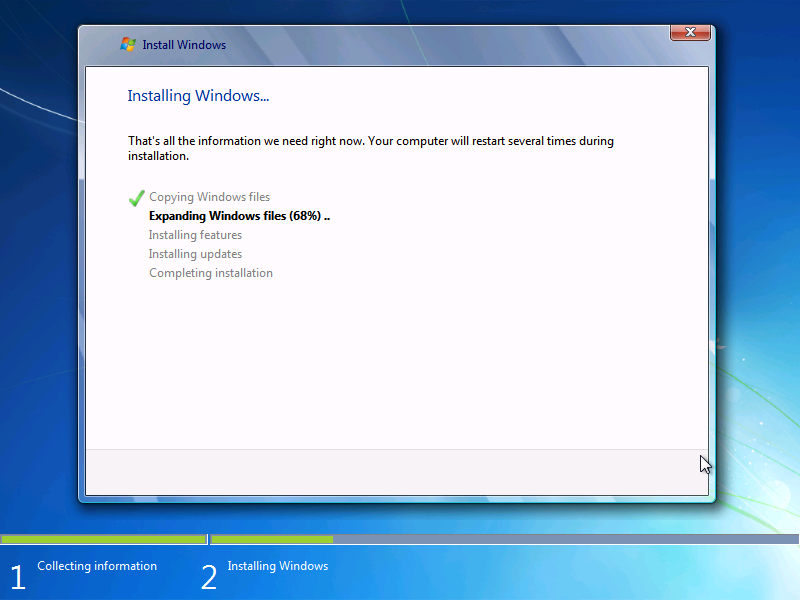
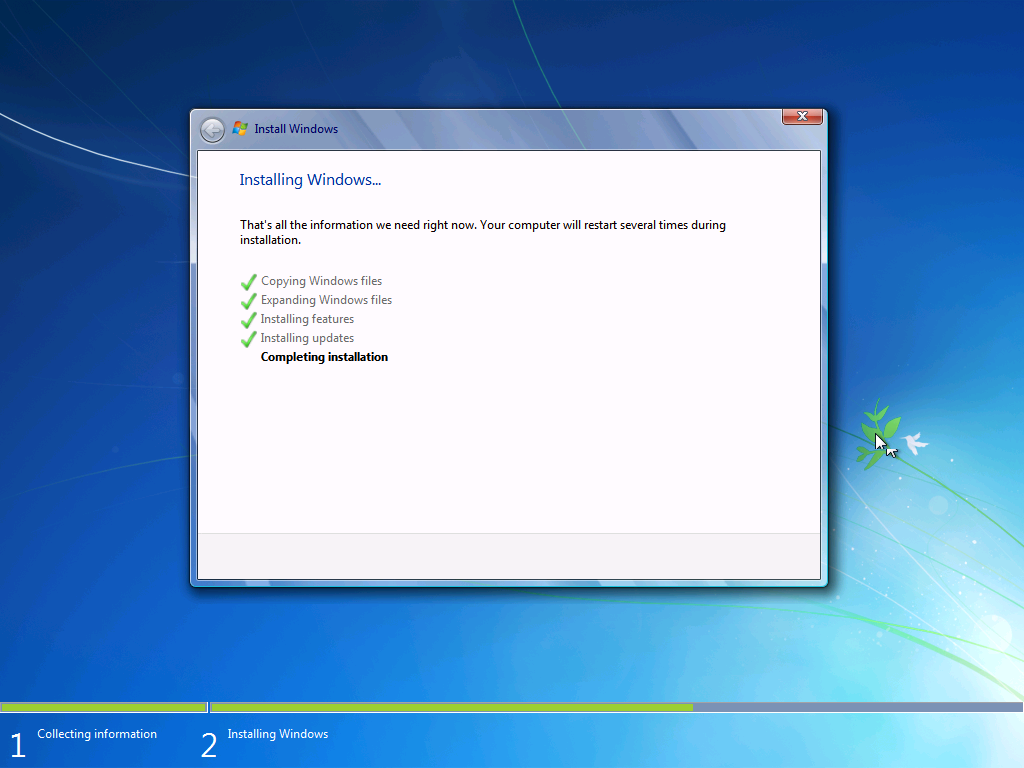
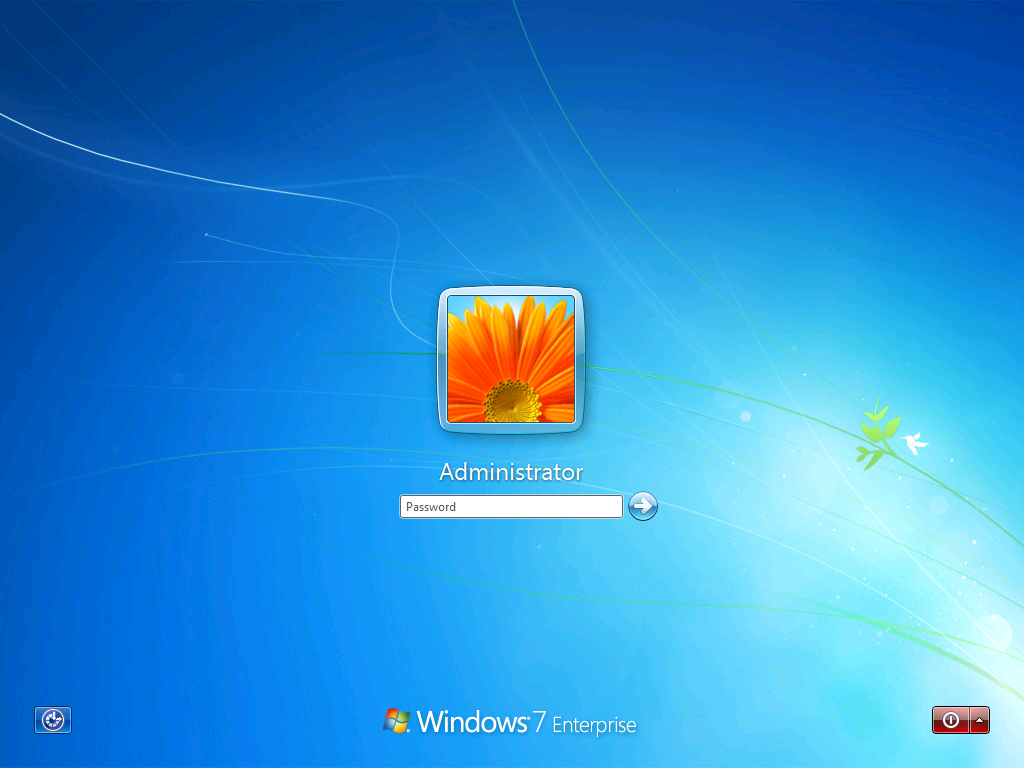
I created new virtual machine in Hyper-V server, attached the Autounattend_HyperV_VirtualPC.vfd virtual floppy drive and mounted Windows 7 iso image. I then started the virtual machines and I waited for 10 minutes to install. The installation started, Windows 7 finished and I was able to logon with the default password2011 password.


Steven
Thanks for posting this,its good at explaining the different set ups you apply in the windows sim.
Could you tell me how to create the .vfd file for the autounattend.xml? I would like to try booting off the virtual floppy with my own answer file.
Steven
its ok I just figured out how to do it there lol..thanks 🙂
mark
Hi
When i try to open the .xml file using WSIM it wants to know where the catalog .clg file is?
Ivan Versluis
Hi Mark,
I had same issue here. Please insert a Widows 7 installation disk and locate that file there. If I remember correctly it should be located in Sources folder, otherwise check with 7z compression tool the install.wim content.
Good luck.
-Ivan
Mark
Thanks Ivan! I will try that tomorrow.
Much appreciated
Mike H
Could you tell me how to create the .vfd file for the autounattend.xml
Jason
Hi,
I just tried your tutorial with no success. I just downloaded your file and placed it, by itself, on a USB key. I then started a Windows 7 install from a DVD and it just went right to the “Install Windows” screen, no automation. What am I doing wrong? The reference computer has nothing on it. I just want to see how this all works. The file is called “Autounattend.xml”
Thanks
Jason
rajat
hi
i have multiple os images,but i want only a particular os image to be selected for installation.how do i specify setting in DISM so that it takes that os image automatically .
Periyanayagam
Hi..I need to install Windows on C drive Only without affecting other volumes on DISK 0.Is this possible??
Jader
How to auto deploy an app (run “app /s” install it silently) with Win7 deploy?
Http://Safe.mn/I1Bh
Marvelous, what a blog it is! This weblog provides valuable information to us, keep it up.
my website
Can I simply say what a relief to uncover an individual who actually knows what they’re discussing over
the internet. You actually understand how to bring a problem to light and make it important.
More people need to look at this and understand this side of your story.
I was surprised you’re not more popular given that you certainly have the gift.
Faceparty.com
I’ve been exploring for a little bit for any high quality articles or weblog posts on this sort of house
. Exploring in Yahoo I at last stumbled upon this web site.
Reading this information So i’m happy to show that I’ve an incredibly excellent uncanny
feeling I discovered just what I needed. I most definitely will make sure to do
not omit this site and give it a glance regularly.
Reggie Philip
Hello Ivan,
A question please – Is there a way to rename the Adminstrator account to aka (abc) and log into abc (administrator) after the sysprep is complete? Basicly if thrtr id a line in the answer file where Adaminstrator can be renamed?
Kind Regards