This tutorial will guide you how to get VMWare ESX server 3.0.2 up and running within VMWare Workstation 6. These steps will also work if you use VMWare Fusion on your mac.
The steps are pretty straight forward and you should be able to get your VMWare ESX test lab in less than 30 minutes.
Start VMWare Workstation 6 ; go to File –> New and click Team or CRTL-N

Click Next
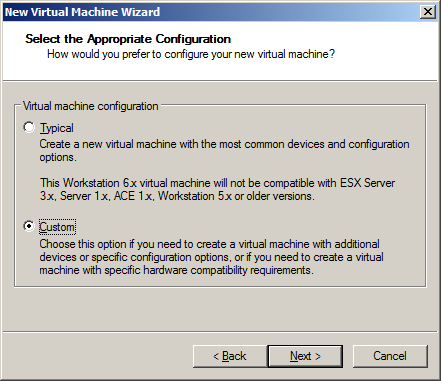
Choose Custom and click next
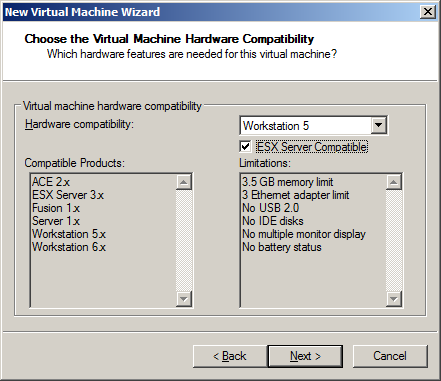
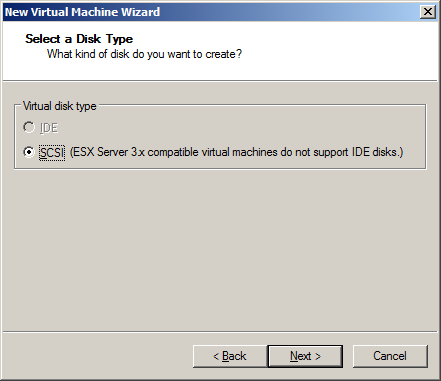
Choose Hardware Compatibility as Workstation 5 and check ESX Server compatible and click next.
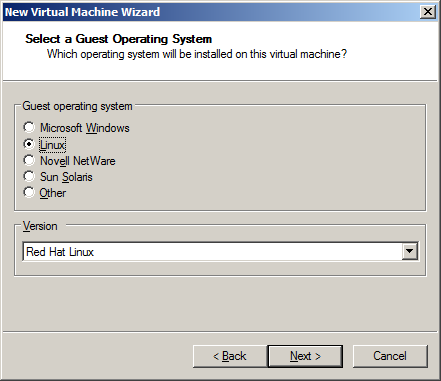
Select Linux and click next.

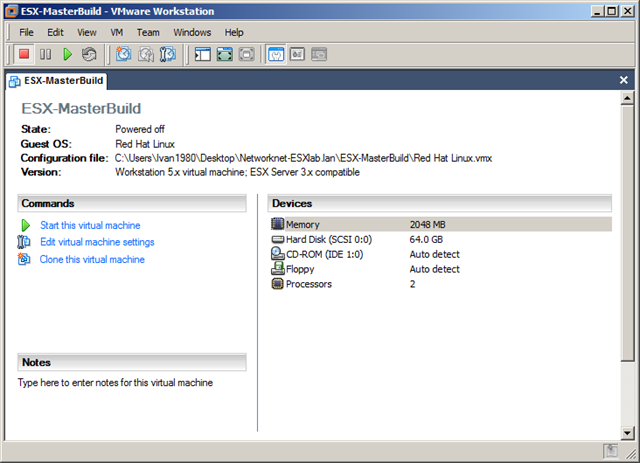
Enter the Machine name like ESX-MasterBuild and create new folder for this virtual machine. Click next
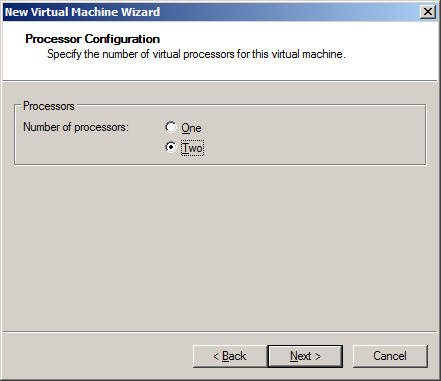
Choose two and click next
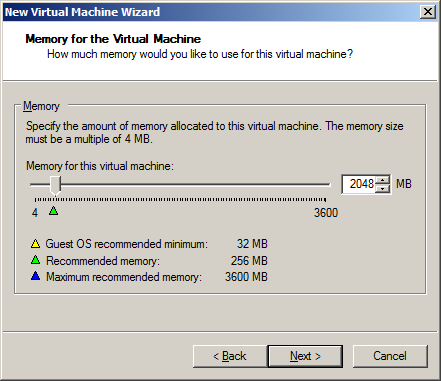
Enter the amount of RAM and click next

Do not use a network connection and click next. The vmx file will updated with the nic manually.
Click next
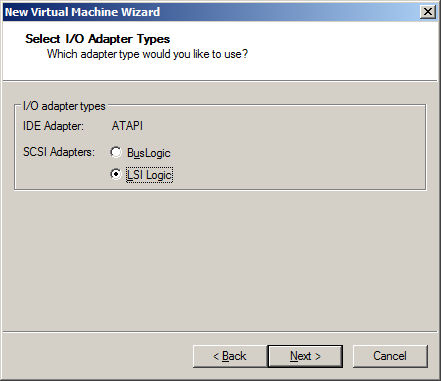
Choose LSI Logic and click next
Click Next
Click Next
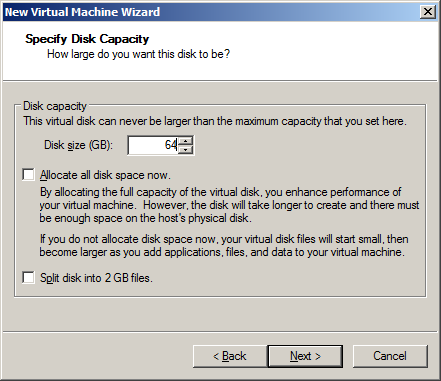
Enter 64 and click Next

Click next
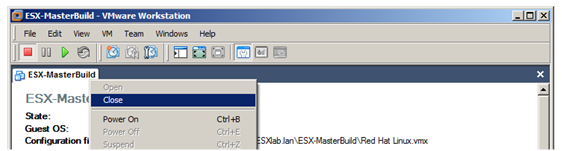
Right click the vm and close. This will allow you to change the file manually.
Click File –> Open and locate the vmx files
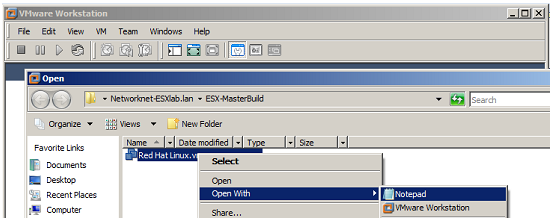
Right click the file and open it with Notepad. Paste the additional configuration lines ; see table below. I have Intel Q6600 cpu and will only use the Intel VT and Intel NIC config.
# Intel VT
monitor_control.restrict_backdoor = TRUE
monitor_control.vt32 = TRUE
#AMD
#Monitor_control.enable_svm = TRUE
#Intel NIC config
ethernet0.present = TRUE
ethernet0.virtualDev = “e1000”
ethernet0.connectionType = “bridged”
ehternet0.addressType = “generated”
Save the file and close notepad. Select the VMX file and open
The vmx config file
config.version = "8"

virtualHW.version = "4"

numvcpus = "2"

scsi0.present = "TRUE"

scsi0.virtualDev = "lsilogic"

memsize = "2048"

scsi0:0.present = "TRUE"

scsi0:0.fileName = "Red Hat Linux.vmdk"

ide1:0.present = "TRUE"

ide1:0.fileName = "Y:"

ide1:0.deviceType = "cdrom-raw"

floppy0.autodetect = "TRUE"

svga.autodetect = "TRUE"

mks.keyboardFilter = "allow"

displayName = "ESX-MasterBuild"

guestOS = "redhat"

nvram = "Red Hat Linux.nvram"

deploymentPlatform = "windows"

virtualHW.productCompatibility = "esx"

tools.upgrade.policy = "useGlobal"

ide1:0.autodetect = "FALSE"

floppy0.fileName = "A:"

extendedConfigFile = "Red Hat Linux.vmxf"

# Intel VT

monitor_control.restrict_backdoor = TRUE

monitor_control.vt32 = TRUE

ethernet0.present = "TRUE"

ethernet0.virtualDev = "e1000"

ethernet0.connectionType = "bridged"

ehternet0.addressType = "generated"

ethernet0.addressType = "generated"

uuid.location = "56 4d 63 20 64 a9 92 8c-04 7e 04 a5 f6 cb 69 3e"

uuid.bios = "56 4d 63 20 64 a9 92 8c-04 7e 04 a5 f6 cb 69 3e"

scsi0:0.redo = ""

ethernet0.generatedAddress = "00:0c:29:cb:69:3e"

ethernet0.generatedAddressOffset = "0"

floppy0.startConnected = "FALSE"
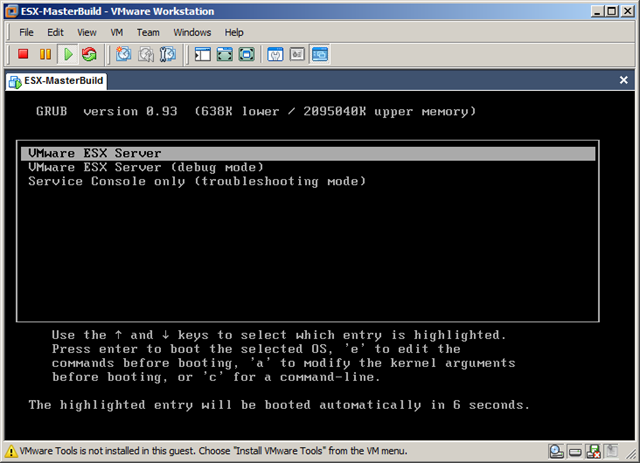
Start the virtual machine. Attach the ESX Server cd-rom in the configuration.
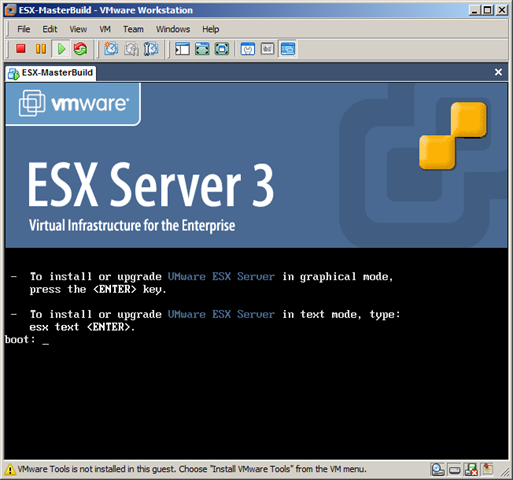
Enter
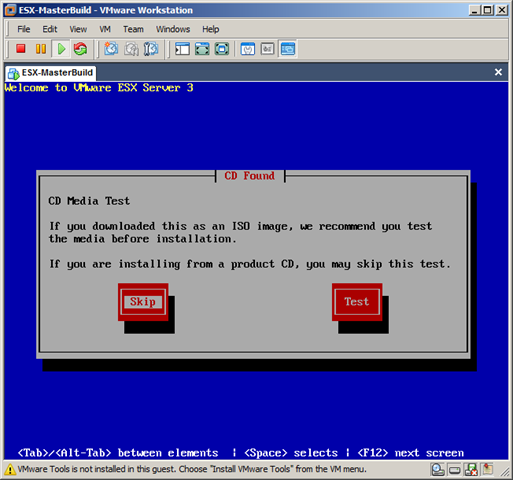
Click Skip
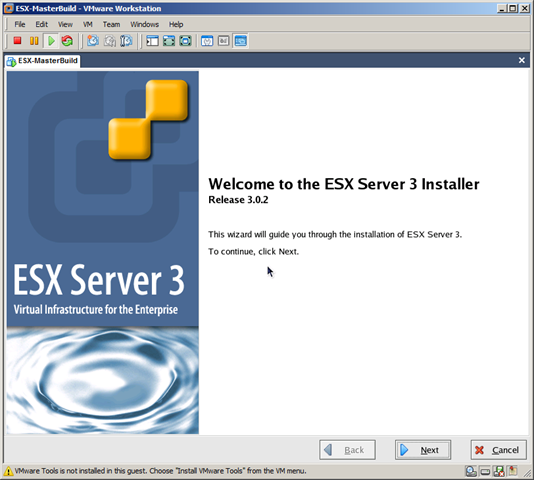
Click Next, next, etc and finish the setup. This process will take between 5 and 10 minutes depending on the hardware used. For complete setup check the screencast.
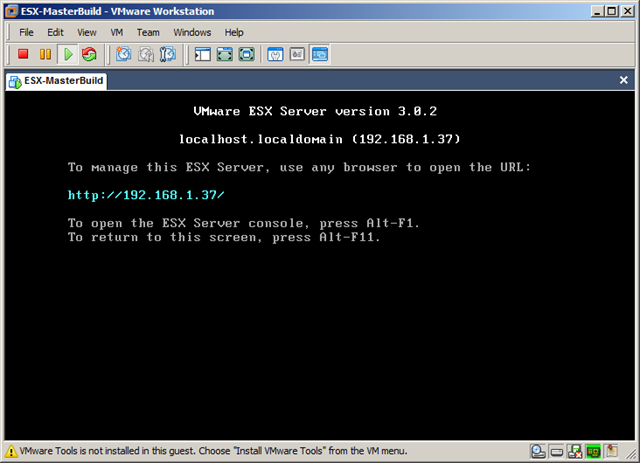
Press ALT-F1 login with root account.
To allow SSH/WinSCP access to ESX server installation follow the steps below.
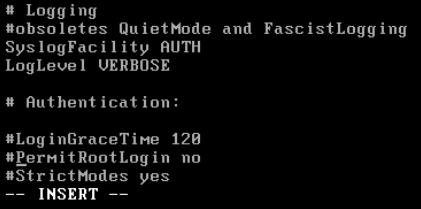
cd /etc/ssh
vi sshd_config
Find PermitRootLogin No and uncomment the line.
Save the file by ESC :wq!
service sshd restart
The ESX masterbuild virtual machine is now ready to be configured with license, storage and all other settings. Shutdown the ESX server.
I will use this vm template to build a VMWare Team based on ESX server. Check out the other tutorial how to setup the ESX lab in less than 15 minutes.


