The interface range feature saves repeated configuration work on Cisco switches. I use it to assign the first twenty gigabit ports as trunks for my VMware ESX environment.
Cisco IOS introduced support for the range command in Release 12.0(7)XE, Release 12.1 E, and Release 12.1(5)T and above to select multiple ports in the switch interface configuration.
The Interface Range Specification feature allows specification of a range of interfaces to which subsequent commands are applied and supports definition of macros that contain an interface range. The Interface Range Specification feature is implemented with the range keyword, which is used with the interface command. In the interface configuration mode with the range keyword, all entered commands are applied to all interfaces within the range until you exit interface configuration mode.
The Interface Range Specification feature makes configuration easier because:
Identical commands can be entered once for a range of interfaces, rather than being entered separately for each interface.
Interface ranges can be saved as macros.
Configure 20 trunk ports
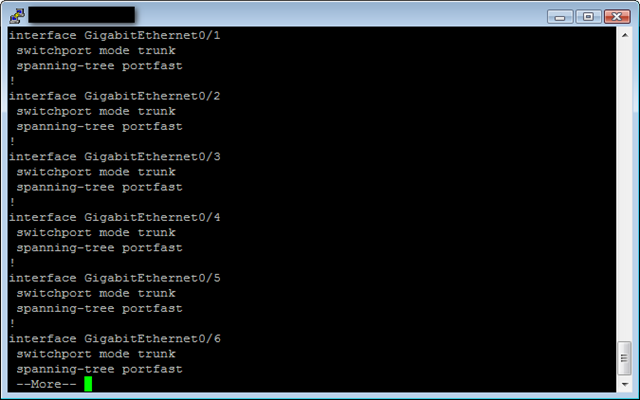
In this example, I configured 20 ports as trunk interfaces in a lab environment.
Shell7 lines
1
2
3
4
5
6
7
Switch1#conf t
Switch1(config)#interface range gigabitEthernet 0/1 - 20Switch1(config-if-range)#spanning-tree portfastSwitch1(config-if-range)#switchport mode trunkSwitch1(config-if-range)#^ZSwitch1# copy running-configuration startup-configuration
Switch1#show running-configuration
When installing VMware ESX servers, CDP support in the networking area can help you find the correct port on your Cisco switch. See my previous post for details. After identifying the port, I returned to the switch configuration and added the interface description.

Great article. Thank you. This helped me a lot.